Saturday, August 11, 2012

Egg Cups (or Muffins?)

So, anyone who knows me, knows that I arrive to work insanely early. I mean, my first class usually starts at 8:30, and I get there around 6:00, if not earlier. Because of this, I don't like to do much at home before I leave. So, I like to have a breakfast that I can grab and take with me. These Egg Cups/Muffins, perhaps mini-frittatas, are perfect. And they are SO yummy!

So... here's the recipe:

12 eggs
~3/4 to 1 cup cooked quinoa
1 cup diced ham (or other meat)
1 cup shredded cheese (flavor is your pick!)
green onions

This is SO simple.  Easy as can be.

1.  Pre-heat the oven to 350 degrees.

2.  Spray a muffin tin (regular size) with nonstick cooking spray.

3.  In large bowl, mix all ingredients together.  (Actually, you can wait to mix in the green onions and put them on top as more of decoration. I prefer them mixed throughout the egg muffin.)


4.  Fill muffin tin with egg mixture. Mine were filled to the tippy-top of the muffin cups!  So, be careful when placing in the oven.


5.  Bake for 20 minutes, or until the centers are set.

This recipe can be modified super easily, so play with it.  Also, the amount of ham and cheese is a roundabout. Fiddle with it until you are happy.  :)


Thursday, August 9, 2012

Strawberry Chocolate Chip Bread

  So, WOW... this was delicious!!  I am so happy that I tried this out.  I had some fresh strawberries, but wasn't too pleased with the strawberry muffins I had made recently, so I went looking for a different recipe. This is just delicious!

Let's get started!  You will need:

§      2 cups fresh strawberries
§      3/4 cup white sugar
§      1 cup all purpose flour
§ 1/2 cup whole wheat flour
§      3 scoops unflavored protein powder
§       3/4 teaspoon ground cinnamon
§       1/2 teaspoon salt
§       1/2 teaspoon baking soda
§       1/2 cup applesauce
§       2 eggs
§       1/2 teaspoon vanilla extract
§       1/2 cup semi sweet chocolate chips


1.      Preheat oven to 350 degrees F. Spray your loaf pan with nonstick cooking spray.

2.      Take one cup of the strawberries and puree them.. Transfer to a medium bowl. Slice or dice the other 1 cup of strawberries (or more... I like lots of strawberries!) and place in the medium bowl with the strawberry puree. Pour in 3/4 cup sugar and mix.


3.      In a large bowl, mix the flour, cinnamon, salt, and baking soda together. 

4.   Add applesauce, eggs, and vanilla extract to the strawberry mixture. Stir well to combine. 

5.   Add the strawberry mixture to flour mixture and stir together until dry ingredients are just moistened. Fold in chocolate chips.

6.   Pour the batter into the loaf pan.

7.      Bake until top is golden and a knife inserted into center comes out clean. This will probably take somewhere between 60 and 75 minutes.  Let cool in pan for 10 minutes. Then, turn out onto a wire rack, and cool completely.


Monday, July 9, 2012

Blueberry Bread with Zucchini

So, I love blueberries.  Like, REALLY love blueberries.  They are my favorite fruit.  Well, them and pineapple.  :)  However, due to the Gastric Sleeve surgery, I don't have much space to get my favorite fruits in when I eat.  Nor do I get much in the way of vegetables in.  This bums me out.  Therefore, I decided to make a Blueberry Bread and add some zucchini in which could get me some of my faves while also getting me more protein.  That's right... this one also has protein powder mixed in!  And let me say, this is delicious. I love it.  I have an egg muffin and a slice of this bread for breakfast, and I am full and happy.

So, here's the recipe:

Blueberry Bread with Zucchini

2 cups Splenda (Stevia, etc.)
3 eggs
1 cup unsweetened applesauce
1 Tbsp. vanilla extract
2 cups zucchini
1/4 cup Splenda Brown Sugar Blend
3 cups flour
1 tsp. salt
1 tsp. baking powder
1/4 tsp. baking soda
1 Tbsp. cinnamon
1 tsp. nutmeg
1 pint blueberries
3 scoops (about 1 cup) unflavored protein powder

Preheat oven to 350 degrees.  Spray bread loaf pan (or 2 pans)

In a large bowl, beat together the Splenda, eggs, applesauce, and vanilla extract.  In a separate bowl, mix together the flour, salt, baking powder, baking soda, cinnamon, nutmeg, and protein powder.  Mix the dry ingredients into the wet ingredients.


Mix in the zucchini.  (I just used a spatula at this point.)

You can save some of the protein powder or the flour to coat the blueberries.  This supposedly helps keep them from sinking to the bottom, but I forgot to do this the last time, and my bread turned out fine.  It's up to you!  Fold in the blueberries. 

Pour the batter into your loaf pan/s.  For one loaf, bake for 60-75 minutes or when a toothpick or knife comes out clean.  For two loafs, bake for 50-60 minutes.  Cool for 10 minutes and then remove from pan's and place on a wire rack to cool. 


YUM!!


Friday, June 22, 2012

Banana Nut Cinnamon Swirl Bread

So... this turned out beautifully!  I love Banana Nut Bread, and I love Cinnamon Swirl Bread, so why not combine the two?!  Now, because I'm a bit of a flake, I forgot to let it rise the second time.  Therefore, I will have to add the pictures later!  But, here's the recipe:


1/2 cup lukewarm water
3 tsp. yeast
1/4 cup Splenda (or sugar)
1/4 cup Greek yogurt
2 bananas mashed
2 3/4 cups flour
1 tsp. salt
1 tsp. vanilla
1 tsp. cinnamon
1 Tbsp. olive oil

1/2 cup brown sugar
2 Tbsp. cinnamon
1/2 - 3/4 cup chopped walnuts

The first thing you need to do is combine the water and the yeast in a large bowl. (I’m going to say that this may be easier if you have a KitchenAid type mixer. I used a hand mixer and it got very unwieldy!).  Leave this for a few minutes so that the water can activate the yeast. It should be a sort of creamy froth mixture.

Add the sugar, yogurt, mashed bananas, flour, salt, vanilla, and 1 tsp. cinnamon to the water and yeast. Knead the dough until the mixture starts to get elastic.  At this point, add the oil and continue kneading until the dough is smooth, soft, and completely elastic.

Roll the dough into a large ball, and place it in the bowl.  Cover the bowl with Saran wrap and leave it aside until it has doubled in size.  This will be from somewhere between 1 and 2 hours.

Once the dough is doubled in size, heat the oven to 325°.  Get out a loaf pan, and spray it with nonstick cooking spray. 

Flour your surface and your rolling pin.  Knead the dough briefly and then roll it out so that it is as wide as your loaf pan, and somewhere around 18-24” long.

Mix together the brown sugar, cinnamon, and walnuts.  (I forgot to add unflavored protein powder to the dough, so I added a scoop here!)  Also, to add a bit of flavor, and make it easier for the mixture to stick to the dough, I used some butter spray on the dough.  Leave about 1 or 2 inches between the edge of the brown sugar mixture and the edge of the dough.  Then, roll your dough up!  Take it and place it, seam side down, into the bread pan. 

Cover with wrap, and let it rise until doubled.  This should take about half an hour.  Then, remove the wrap, and place in the oven.

It should bake at 350° for 35-40 minutes.

Wednesday, June 13, 2012

Denial? Acceptance? Where do I go from here?

As of today, I have lost 96 lbs. That is a small woman.  Or a teenager.  A young one.  :-)  But when I look in the mirror, knowing this fact, knowing I've dropped from a size 24 or 22 to a size 12/14, I still see a fat girl. I know I am not at my final goal.  I know that some of this is excess skin that I still have to firm up. I know that I am literally 6 months out from my surgery.  (Surgery was December 14, 2011.)  While my friends, my clothes, my pictures, and my doctors will all tell me how much weight I've lost and how well I've done, my brain is still telling me I'm fat.

I have spent the majority of my life as a fat person. Most of that time I have also spent telling myself how horrible I was for being fat. My negative self talk had no limits. I could admit that I am smart. I could admit that I am funny, that I am nice, and that I have a lot of friends. It didn't matter. To me, being fat outweighed (excuse the pun) all of the good things about me. Because I was fat, I was disgusting, hideous, and overall, just a bad person. I would look at myself in the mirror and think, "Well, I wouldn't want to date me, why would anyone else?" The problem is, when you have spent years and years of your life with constant negative thoughts and constant put-downs, it's extremely difficult to change this.

Then, today, I saw a post that a friend had put up on Facebook. It is from Diane Sylvan's blog, CrazyBeautiful.  (Here is the link: Ten Rules for Fat Girls)  I think it's important to read.  Being fat is the only thing that is still acceptable for mocking, tormenting, teasing, making jokes, and all other forms of "bullying".  I'm not saying that other things should be mocked, teased, etc.; we've come a long way to recognize that it's unacceptable behavior towards people of different races, religions, sexualities, etc. But why is it still OK to treat people who are overweight or obese this way?  What does it accomplish? Like Diane suggests, if it's to push the fat people into becoming "healthier" (This is BS. One can be overweight and healthy.) or skinnier, it clearly isn't working. Obesity rates just keep rising. And Diane makes another point. If we don't find it acceptable for other people to treat us this way and talk to us like this, why is it OK for us to do it to ourselves?

I don't have an answer to those questions. And I don't know how to see myself in a different way. The only thing I can do, and have tried to do, is note when I'm saying/thinking something negative about myself and consider what brings on this thought. If I can, I stop myself before I get the whole thought out, and I try to turn it around and say something positive. For now, this is all I can do. I may even write notes and place them where I can see them and "find" them. You know... I can look in the mirror as I brush my teeth and see "You are beautiful."  Open the cupboard for a glass and see "You are an amazing woman."

How do you feel about this?  Are you overweight and talk/think negatively about yourself?  Have you gotten past these hurdles?  If so... PLEASE SHARE!!  I think helping each other can help us (1) know that we are not alone and (2) figure out how to change this behavior.

Sunday, June 3, 2012

Cheeseburger Pie, Modified!

When I was little, one of my favorite dishes that my Mom made was the Impossibly Easy Cheeseburger Pie. It was just delicious, and it felt like such a treat when she made it. For a meal that is high in protein, this one works well! There is of course fat and calories, but I modified it by using skim milk, 2% Milk Shredded Cheddar, very lean ground beef, and Heart Smart Bisquick. I also decided to add in some Quinoa to up the protein just a bit more. And, I have to be honest, It wasn't that noticeable! I forgot to mix it in with the ground beef and onions, so it was on top, but I imagine it would be even LESS noticeable if you did that.

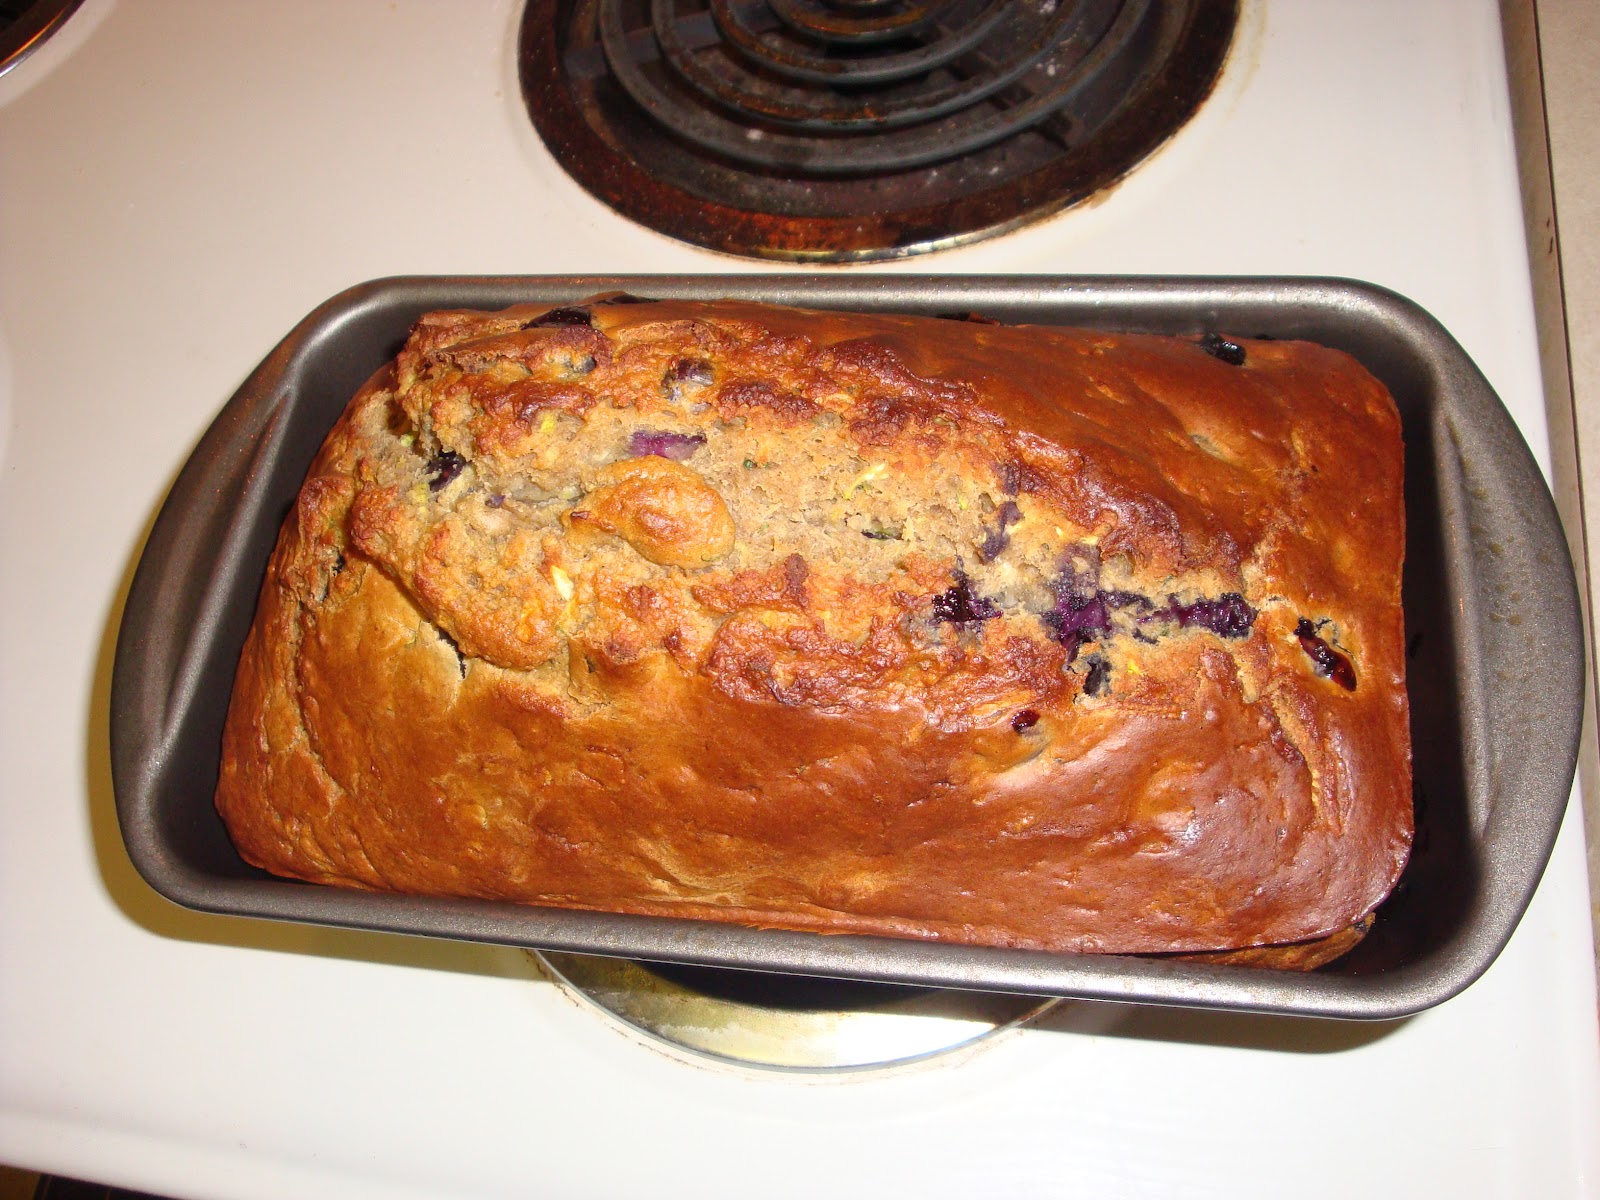
So, here is what the final product looked like:

I probably should have let it brown some more, but it smelled so good! So, here is the recipe:

1 lb. lean ground beef
1 large onion, chopped
1/2 tsp. salt
1 cup 2% Milk Cheddar Cheese, shredded
1/2 cup Heart Smart Bisquick® mix
1 cup milk
2 eggs
2/3 cup quinoa, cooked

The first thing to do is preheat the oven! Preheat oven to 400°. Spray a 9 inch glass pie plate with a nonstick cooking spray.

In skillet, cook the beef and the onion over medium-high heat. (I started this off and combined the other ingredients while the beef was cooking.) Once the beef is browned, drain off the fat. Mix the cooked quinoa in with the beef and onion. Spread the beef mixture into the pie plate.

In a small bowl, mix together the remaining ingredients: Bisquick®, milk, eggs, salt, and cheddar cheese*. You can use a fork or a whisk. Pour this over the beef mixture in the pie plate.

Bake for 25 minutes. Insert a knife or toothpick in the center and make sure it comes out clean.

And, there you go! That is my updated Cheeseburger Pie. I will say, as I ate it, I realized this would be one of my new comfort foods! It was so tasty, and I had fond memories of my Mom's cooking.

Nutritional Information: 225 calories, 10 grams of fat, and 20.5 grams of protein.
One serving is 1/8 of the pie. I rounded up for the nutritional info.

*Note: I kind of made this a bit differently from what Betty Crocker suggests. Instead of mixing the salt and the cheese in with the eggs, milk, and Bisquick®, they have you stirring the salt in with the beef and onions, pouring that into the pie plate, and then sprinkling with the cheese. The way I did it, the cheese stays on top anyway, so I was just as happy with the result.


Get your ingredients together.


Cook ground beef and onion.


Mix together remaining ingredients.


Pour ground beef mixture into pie plate.


Pour egg mixture over the beef mixture. Bake!

Enjoy!
KK

Friday, June 1, 2012

What is a Gastric Sleeve?

December 14, 2011 my life changed forever. For the better. Early that morning, I arrived at Lexington Medical Center in Columbia, South Carolina with my parents. Shortly after I checked in, I was called back for preparation for surgery. Only one parent could go back while I changed, so my mother came with me. My dad waited out in the waiting room for my friend Karen to arrive. (Karen has been my own personal guide, support system, and angel through this process. She had the bypass done 5 years ago). After I changed into the gigantic gown (that wouldn't be needed after some time!), they brought my father in... and with him came Karen. I saw her and burst into tears. I was scared, excited, anxious, happy, and overwhelmed. I was about to go in for a Sleeve Gastrectomy, more commonly known as a Gastric Sleeve.

Although the Gastric Sleeve has been performed for many, many years in Europe, it is still not that well known here in the US. I had indeed read about it, but was under the impression that it was more of a first step for people who were extremely morbidly obese or were in poor health. Not so much! When I visited the surgeon for a consult, he asked which procedure I was thinking of having done. I told him the Roux-n-y, as that is the most common procedure, and I felt my best chance. He had asked if I wanted the band, and I responded in the negative stating that I felt it would be too easy to slip back into old habits with that. He was happy to hear that. He told me that the band is ineffective, and that recently, people were starting to have problems with them and needing them removed. When I finished explaining why I wanted the Roux-en-y, he stated that he felt I should have the Sleeve. I was shocked. I asked him why and if there results were comparable to those of the bypass. Because I was not diabetic, he felt the bypass was unnecessary. For some reason, immediately following bypass surgery, diabetes just disappears. No one knows why, it just does! Anyway, I was under 300 lbs., I didn't have diabetes, and was in fairly good health, so the Sleeve would be a great option. And he informed me that the results are indeed comparable to the bypass.

But what exactly is the Gastric Sleeve? It's an interesting procedure, and it is irreversible. Once you have been put under anesthesia, the doctors will put a tube down your throat. Once in your throat, they inflate a little balloon to measure how wide your esophagus is. This is important, because they are going to staple your stomach into a pouch that is the same width. This is the only surgery where any part of your stomach is removed. Once they have stapled off your new stomach pouch, they completely remove the rest of your stomach. This ends up being about 85% of your stomach that is removed. It is called a Sleeve because that is what the new pouch looks like... a sleeve on a shirt. It really looks banana like, but who would want a Gastric Banana?! Yech.

Also, most patients also have hernias. My surgeon did not mention suspecting a hernia, but I know that many patients either go in knowing they have one or most likely have one. They did discover a hernia when they went in, a rather small hiatal hernia, and it was easily repaired. It's easy enough, and does not take much extra time.

I will write another post about the hospital stay another day. I think it's good to know what to expect going in, and I'm glad I had that knowledge! But, if you have any questions, please write me and ask!